Spring Boot has got immense popularity lately, since what it brings to table is far comprehensive. In this article you will learn how you can get started with Spring Boot with as minimal setup and build REST API with snap of a finger.
Spring provides a utility https://start.spring.io/ to create a spring boot project. It also lets you add dependencies in your project.
For our example we will be generating a maven project using above utility.
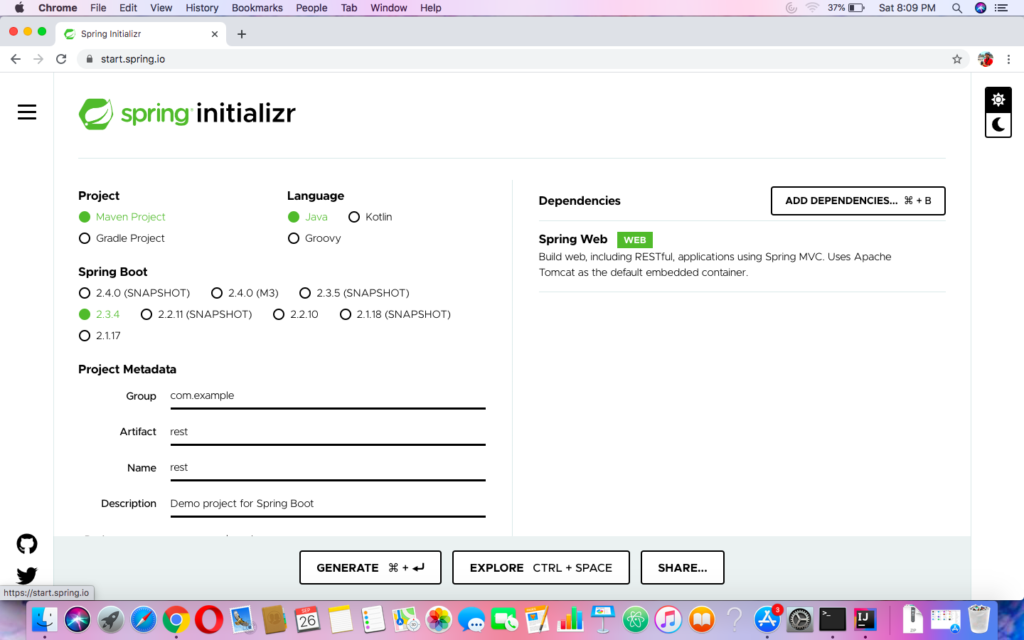
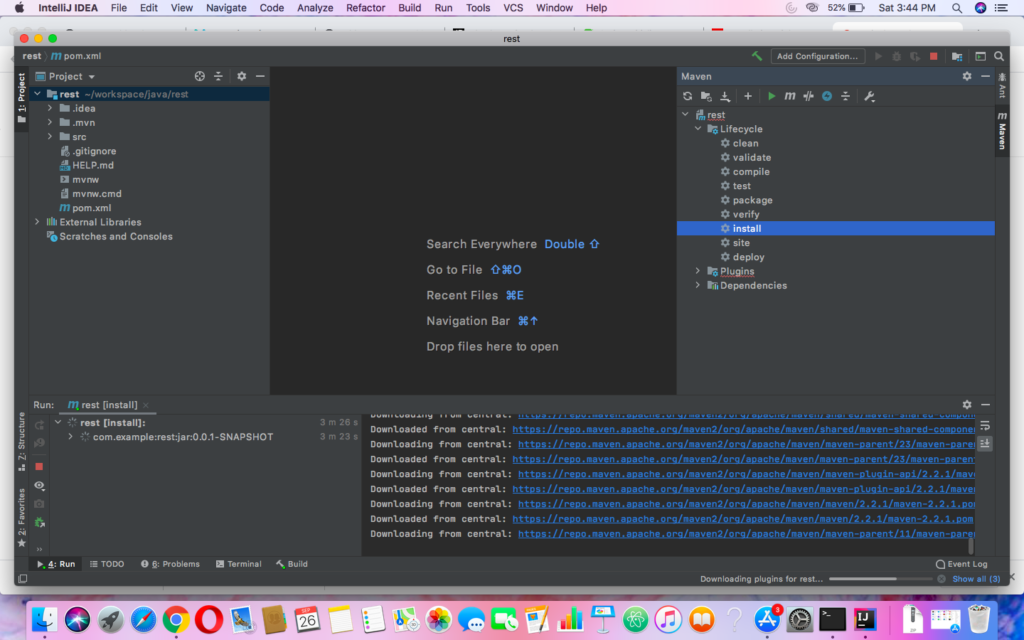
Add “web” dependency as shown in above screen and download the project by click “Generate” button. You will get a zip file, extract it and open in your editor as an existing project. Once done clean install your maven project to download dependencies.
Now that being done you are ready to code.
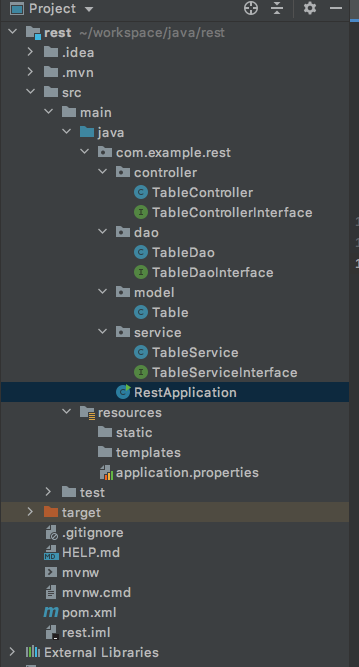
First lets create all four packages i.e Dao, Model, Service and Controller.
Note the control flows as below.
Client Browser -> Controller -> Service -> Dao -> Service -> Controller -> Client Browser
Model: Here you create all the entity classes.
Let’s create Table entity class with getter and setter methods.
Table.java
package com.example.rest.model;

public class Table {
    String club = null;
    int played = 0;
    int won = 0;
    int lost = 0;
    int points = 0;
    int draw = 0;

    public String getClub() {
        return club;
    }

    public void setClub(String club) {
        this.club = club;
    }

    public int getPlayed() {
        return played;
    }

    public void setPlayed(int played) {
        this.played = played;
    }

    public int getWon() {
        return won;
    }

    public void setWon(int won) {
        this.won = won;
    }

    public int getLost() {
        return lost;
    }

    public void setLost(int lost) {
        this.lost = lost;
    }

    public int getPoints() {
        return points;
    }

    public void setPoints(int points) {
        this.points = points;
    }

    public int getDraw() {
        return draw;
    }

    public void setDraw(int draw) {
        this.draw = draw;
    }
}
Controller: Here you define all the endpoints in the application. To indicate the class will be used for endpoints or API’s you need to decorate the class with @RestController.
Now that being done you need to further define each endpoints with either @GetMapper or @PostMapper
@Autowired object decorator which is fundamental functionality provided by spring boot that does dependency injection.
Create following controller file in Controller package TableController.java
package com.example.rest.controller;

import com.example.rest.dao.TableDaoInterface;
import com.example.rest.model.Table;
import com.example.rest.service.TableService;
import org.springframework.beans.factory.annotation.Autowired;
import org.springframework.web.bind.annotation.GetMapping;
import org.springframework.web.bind.annotation.RestController;

@RestController
public class TableController implements TableDaoInterface {
    @Autowired
    private TableService tableService;
    @GetMapping("/table")
    @Override
    public Table getTable() {
        return tableService.getTable();
    }
}
Service: This is the business layer, here all the business logic is implemented. To indicate the class as service you will have to decorate the class with @Service decorator.
Service class calls Dao layer to get data.
TableService.java
package com.example.rest.service;

import com.example.rest.dao.TableDao;
import com.example.rest.model.Table;
import org.springframework.beans.factory.annotation.Autowired;
import org.springframework.stereotype.Service;

@Service
public class TableService implements TableServiceInterface {

    @Autowired
    TableDao tableDao;

    @Override
    public Table getTable() {
        return tableDao.getTable();
    }
}Dao: Dao layer is responsible for fetching data from database. To indicate the class as Dao layer you need to decorate the class with @Repository decorator.
Dao class receives a call from Service class for data, Dao then queries database and sends the data. Querying database is out of scope for this example, so let’s hard code the data.
TableDao.java
package com.example.rest.dao;

import com.example.rest.model.Table;
import org.springframework.stereotype.Repository;

@Repository
public class TableDao implements TableDaoInterface{

    @Override
    public Table getTable() {
        Table table = new Table();
        table.setClub("Manchester United");
        table.setLost(1);
        table.setPlayed(2);
        table.setWon(1);
        table.setDraw(0);
        table.setPoints(3);
        return table;
    }
}
Once you run the application http://localhost:8080/table api would be exposed. A call to it would return below json response.
{"club":"Manchester United","played":2,"won":1,"lost":1,"draw":0,"points":3}Done, you can find the source code for above example at https://github.com/thatsrohitnaik/Spring-Boot-Web-API
Happy Coding !!
